So, the Christmas and New Year holidays are over and am I right in thinking that some of us are wondering where in all the madness we actually felt like we got a break?
It's at this time of year, as I'm gearing up to start work again, that Muse starts hankering for a little craft time! This quick and simple craft project fills an hour or two and gives the mind a little break from all the angst over new year resolutions. It's also a great project to keep the kids busy for a while ;)
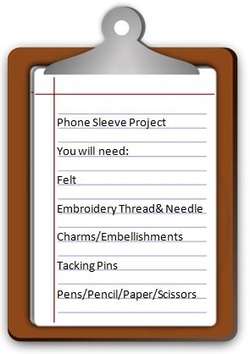
To create a most excellent and personalised phone sleeve you will need:
2. Cut out the template and pin it to your felt and then cut around it. Repeat this step so you have TWO pieces of felt the shape of your phone.
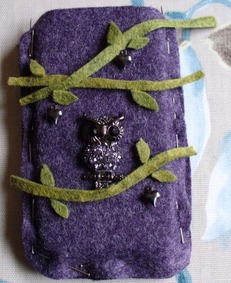
3. Place the two pieces of felt together. Using tacking pins, pin around the edges of the felt to form a pouch (leaving the top unpinned).
4. Insert your phone and make sure it fits SNUGLY into the pouch/sleeve. The line of the pins will be the line you stitch up to.
5. Once you are satisfied with the fit, and that the pins form a straight line for you to stitch up to, remove the phone.
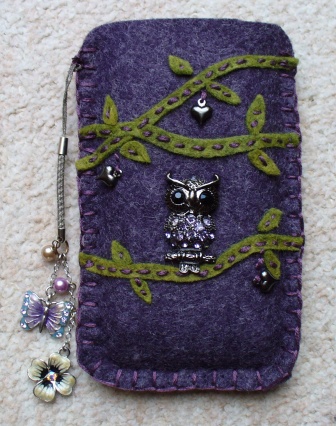
6. Choose embellishments to personalise your phone sleeve and lay out your chosen design (where you want your embellishments to sit) on the felt - I chose tiny heart charms and an owl charm and decided to add contrasting green felt branches and leaves.
9. Using more embroidery thread, begin BLANKET STITCHING approximately 5mm in from the top of the phone sleeve. Blanket stitch up to the line of pins. You can use running stitch if you wanted as felt doesn't fray - just make sure you hide the knots of any style stitch you use between the two pieces of felt, so that neither side of the sleeve has a knot showing.
10. Optional - stitch in a phone charm as you bring your blanket stitch to an end.
VOILA - One new personalised phone sleeve!


 RSS Feed


